Helen O'Hara – Community Artist – Joondalup, Perth, WA

Wednesday, 30 May 2018

Quilt As You Go Cushion

free motion quilting

What is this girly, traditional-looking quilt thing? I didn't make that did I? Not my style at all!

Yep I did make this, but only as an experiment to get the hang of the quilt as you go technique. I didn't want to use my prints yet until I'd worked it out so I used up some of my hand-me-down fabrics and made this quilt in girly colours which my daughter likes. So as I wouldn't have yet another experiment lying about in a drawer I made this into a cushion cover for her room.


The advantage of quilt as you go is that you don't have to get a whole huge quilt under a domestic machine. You quilt each part separately and join them at the end. I used a sasher from Pauline's Quilters World to make the thin purple strips. Here's a video demonstrating the sasher - it's definitely not as easy as it looks in the video!


I joined my quilt pieces with the seams on the front and then covered them with the sashing. A big advantage for me is that you can cover up all the places where your corners don't match up! Another advantage is that you can make your design up as you go along, it doesn't have to be all planned out in advance. I think this technique will work well for joining some of my monoprints into a bigger piece.

Seams on the pretty side before the sashing is added.
Here are some close up shots of my very inaccurate free machine quilting. Luckily this nature print doesn't need accuracy!


Sunday, 27 May 2018

Quiltwest 2018


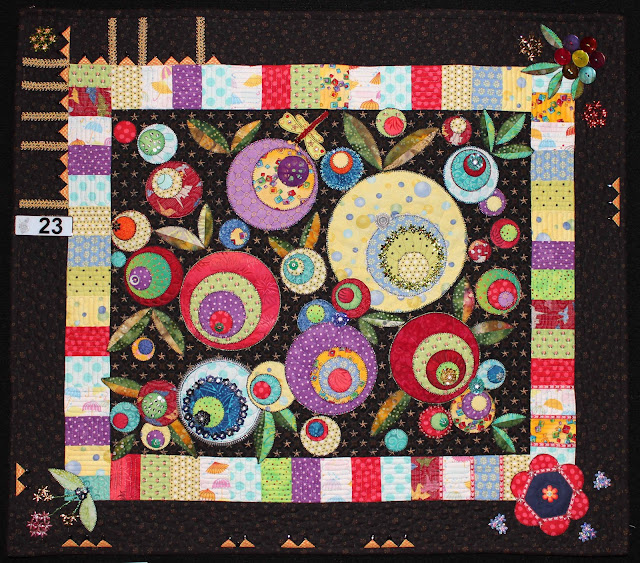
I've been at the Quiltwest exhibition all day today. Pictured above (and detail below) is the winning quilt.


On display were many amazing quilts by members of the Western Australian Quilters Association. I had 3 pieces on show but you've seen those before so here are some of my favourites from other members. Sorry I don't have the artists details for them all, I was supposed to be doing white glove duty while I was taking photos!


This one (below) is a collaborative piece from the Contemporary Quilt Group. See if you can spot my self portrait.


This one is the winner from the under 18s section!


Also on show were the judges selections from the AQC and the Best of Australia.


In this one the hands were really 3D although it doesn't show in the photo


Overall winner for Best of Australia


I enjoyed this exhibition by the group SAlt. The theme was the hashtag symbol and each member made a large quilt based on this theme. The other members then all made a smaller piece inspired by the larger one. Finally the original artist made another smaller piece inspired by all the other members' small quilts.


It's only $10 for members to exhibit up to 4 pieces at Quiltwest. Perhaps you'll join in next year?

Saturday, 26 May 2018

Mono-Printed Fabric With Thickened Dye and Gelli®

kettles or tea pot mono print on fabric with procion dye

You all know I can't stop mono-printing and dying fabrics, so today I decided to record the process for you. After all I really need to practise this You-Tube thing!


Tools for printing monoprinting, gelli plate, block ink, fabric

I'm reusing my freezer-paper stencils from previous projects (see earlier blog posts). I used thickened dyes, block ink and a Gelli® plate. You can buy the dye powder and thickener from Kraftkolour. The cheapest place to get soda ash (which activates the dye) is in the DIY store. I'm using Derivan block ink. This ink is not really washable so if you are making a garment or item that needs laundering then you'll need to shop around for a different type. The block ink stays wet much longer than acrylic paint and you need lots of time for this technique. I'm using a Gelli Arts® gel printing plate. Get yours at Gelli Arts® and use the code below for 10% off.

gelli arts discount 10% code gelliarts.com HelenO

First prepare your cotton fabric by soaking in soda ash solution and hanging to dry. You can then iron on a freezer-paper stencil before scraping on thickened dye with a credit card. Once the fabric has batched for a few hours you can wash it out and hang to dry. Now the fun begins....


Roll a small amount of ink onto the Gelli® and lay the fabric pretty side down over the ink. Any time you touch the fabric now you will get a black mark. Draw onto the back of the fabric with a skewer. You can lift up the fabric any time to check how it looks. You can just about see the lines through the back of the fabric.

bean mono print on green fabric


I used some cardboard circles from muffin tin packaging to add pattern.


When you finish a section just lift the fabric, roll out more ink and go again. Holding the fabric up to a window can help you align the stencil if it's difficult to see through your fabric.


Once the pieces are finished they need a few hours for the ink to dry and then you can sew into them. I'm not sure yet what these will become.

green monoprint with circles and beans motif


kettels monoprint orange and pink back circle background