Sunday 30 September 2018

Gelli®, Comb and Stencil


Today I’m showing you how to use the Gelli Arts® comb tools and acrylic paint with freezer-paper stencils to get three pieces of art for the price of one!


Step 1) Fold a large piece of freezer paper in half and draw half of your symmetrical motif along the fold.

Step 2) Cut out your shape using scissors and a craft knife. Be sure to keep all the pieces. You’ll have a positive and a negative shape.

Step 3) Put your stencil shiny side down onto some paper and iron it in place.


Step 4) Roll acrylic onto a mini Gelli® hexagon and make marks with a comb. Print it overlapping your stencil.

Step 5) Continue printing more hexagons until the whole shape is full.


Step 6) Wait for the paint to completely dry before washing ink, dye or watercolour over the top. Let it dry again.

Step 7) Remove your stencils, be careful not to tear them or lose any pieces.


 Step 8) Iron the opposite stencil over your print to protect the work ready for the next stage.


Step 9) Paint a plain colour into the white space, make sure to brush away from your stencil to avoid paint seeping underneath.


Step 10) Use fluid acrylics on a larger Gelli® plate. You’ll find these give a nice bubbly texture rather than covering the whole plate. Add some marks with a comb.

Step 11) Print the big Gelli® right over your stencil. You may want to repeat with another colour. Let the print dry.


Step 12) Remove the stencils to reveal a 2 colour print beneath.       


Step 13) Don’t throw the stencils away, use them for collage!


Friday 28 September 2018

More Needle Felted Bottles

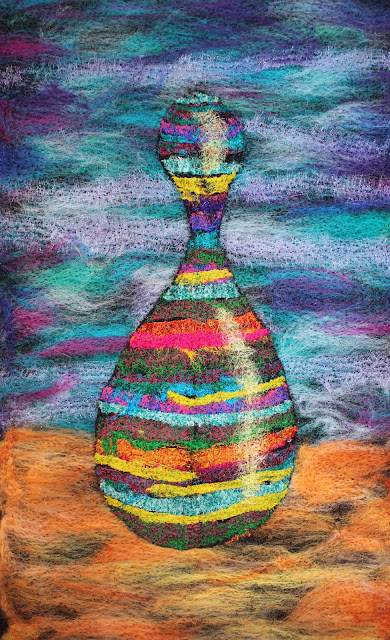
needle felt bottle with sari silk wool silk and organza rainbow coloured

Today I've continued experimenting with my needle-felting machine which now only has 3 of its 5 needles intact. I took the bottle motif from my last session and felted it to a background of acrylic and wool felt and organza. I added some more organza within the bottle shape for a highlight.

The piece below was felted with a hand-dyed wool prefelt onto an acrylic felt background. I used some yarn for the black outline and wool and silk fibres to ad some more colour.


I used cut pieces of an old scarf for the checker-board pattern. It looked a bit too bright so some wool fibres over the top calmed it down a bit. I used some sheer fabric from another old scarf for the texture at the bottom. Again some organza was added for the highlight.


I'll be adding stitch to these when my machine gets back from its service.

Wednesday 26 September 2018

Creative Sketchbook Flip Through


I have my first creative sketchbook from the DMTV course finished. Below is a flip through for you and a few photos of some pages I think you haven't seen yet.


Tuesday 25 September 2018

Needle Felted Tulips Part 1


I've been working on this needle felted tulip piece inspired by one of my photographs.


Step 1 was to needle felt down some organza in greens and yellows onto a piece of acrylic felt.


I got this crochet scarf from the charity shop with cutting it up for art in mind! Down it went.


Next I added some green silk for even more texture and some orange gauze for the petals.


Extra colour was added to the petals with silk and wool fibres. A piece of sari silk forms the stem with more organza for leaves.


The 3rd flower was formed the same way.


This stand-alone flower was made with 3 pieces of felt with silk fibres for colour. The ragged edge is a piece of sari silk ribbon. I don't know yet if this will go with the other piece or become a new piece.


Monday 24 September 2018

Needle Felt Fun


My sewing machine is in the shop getting it's service so that only leaves me with my needle-felting machine to play with. I'm experimenting with positive and negative shapes.


First I needle-felted some sari silks to a piece of acrylic felt. As this was going to be a bottle I laid them down in curved lines. I used a paper stencil to cut out the bottle shape. I folded the felt in half to do this so I would get a positive and a negative shape.


I've attached the negative shape to another piece of felt and started to add some more colour. The positive shape hasn't been worked on yet. The smaller bottles have had a little hand stitch to embellish them. I want to add some thicker threads for the outline but I'll wait until my sewing machine is back as the felt is getting a bit thick and I keep breaking needles.