
Today I'm bringing you not one, but two Gelli® tutorials in the one post. This month's challenge is Fall Fever, so even though it's Spring here in Australia I'm working with leaf motifs in Autumn colours. Here are two projects for your coffee break - mug rugs and coasters with Plaid Paints.

I'm using Multi-surface and colour shift paints in these projects. The colour shift are especially nice as they have a metallic sheen which changes colour according to how you hold them in the light.

I have two video tutorials for you or, if you prefer, full instructions below.
Mug Rugs
First cut a stencil from freezer paper and iron it shiny side down onto your fabric, you'll need both parts so don't throw the other part away.


Ink up your Gelli® with the Plaid paints and make textures.

Lay a commercial stencil over the top and pull off excess paint with scrap paper. Leave the stencil in place.

Next roll a contrasting colour right over the stencil and Gelli®. Remove the stencil and you have a two colour Gelli® ready to print.


Lay the fabric freezer paper side down on the Gelli® and take the print. Remove the freezer paper stencil from the fabric and set everything aside to dry.


Iron the other part of the stencil onto your fabric to cover up and protect the work done so far. Use baking paper to protect your iron from any stray paint.

Repeat the process with a contrasting colour. Pull off the freezer paper and leave the fabric to dry overnight.


Once the fabric is dry layer it up with a backing fabric and a layer of wadding in-between. Sew around the leaf to make it stand out and quilt in any way you wish.

When the quilting is done trim the edges with a rotary cutter and ruler. You can add a proper quilt binding but I think these zig-zag edges look just fine on a small project.


Add your coffee and you're finished! Here are a couple of close ups:


Coasters
You'll need some blank wooden coasters available from craft shops or DIY stores. Undercoat them with gesso for a good printing surface.
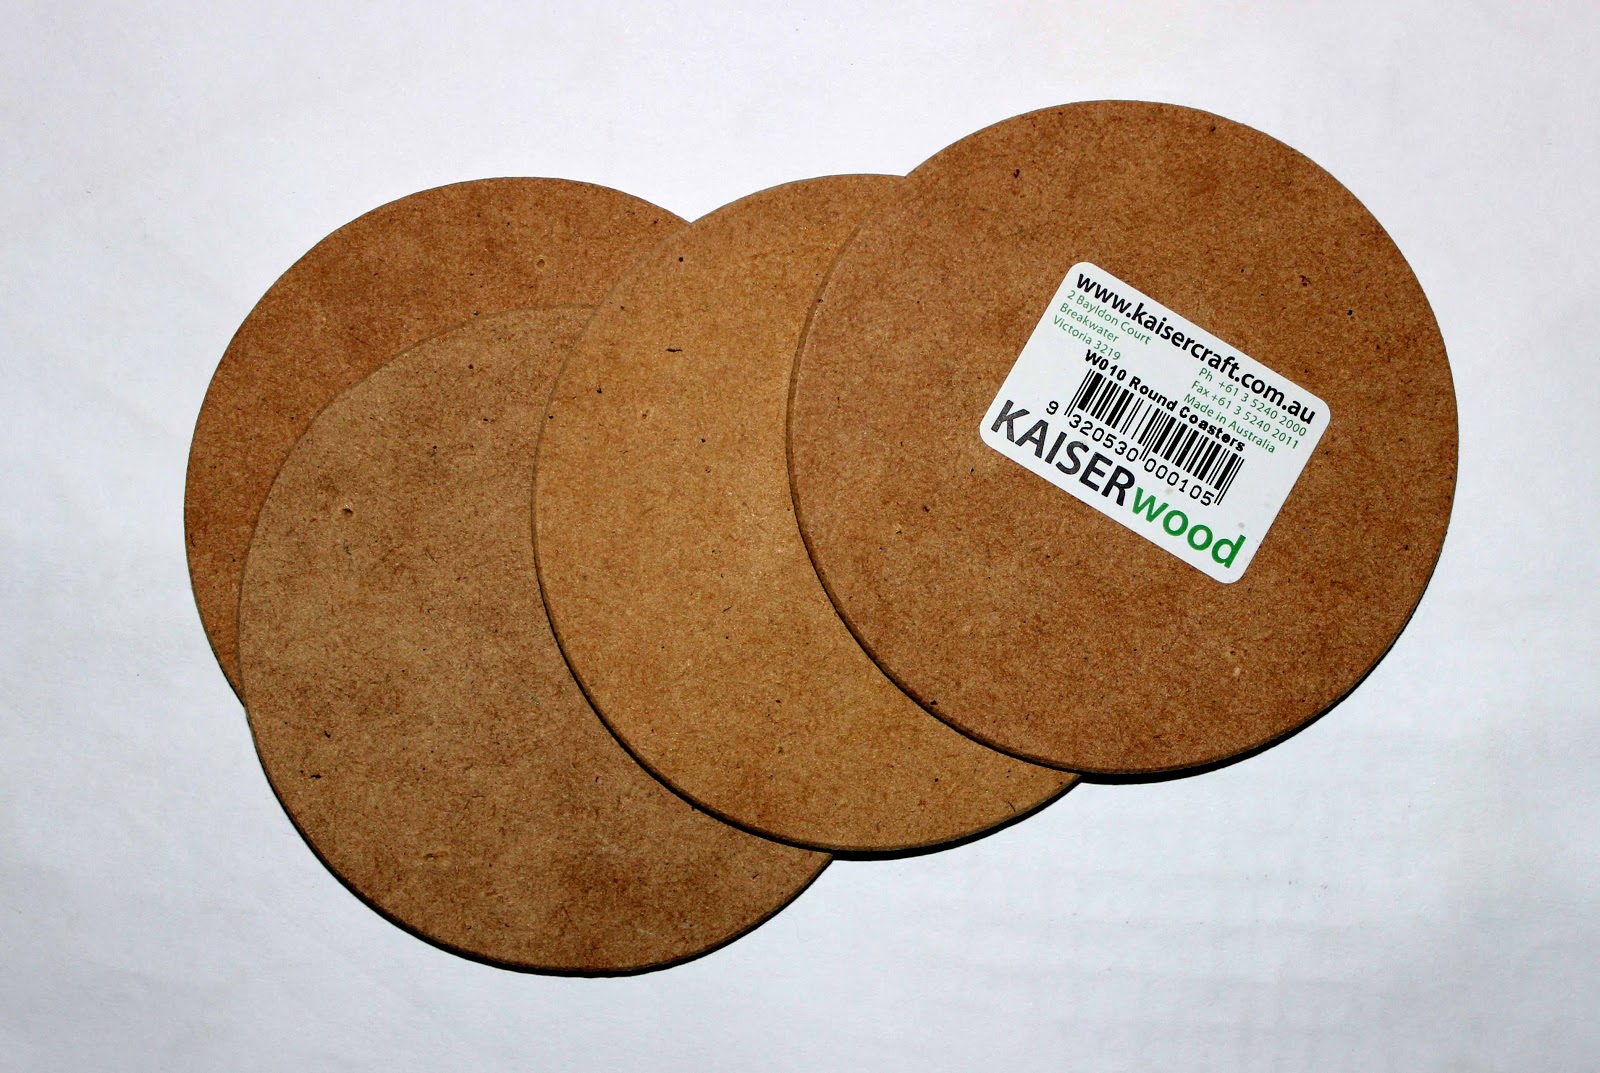

I used a round Gelli® but any shape a little bigger than your coasters will work. You'll need paper stencils again but tiny ones this time. Ink up a Gelli® as normal and take a print.

Place a stencil over your Gelli® there will be a little paint remaining to hold it in place. Use a sponge brush to apply another colour making sure not to move the stencil. Print again right over your first print for a two colour effect.


Once the coaster is dry you can print the other side to make it reversible. I added some varnish to give some shine and durability.


Lastly don't throw away your paper stencils and scrap prints, they'll come in handy for collage in another project.

So cool! I love all the steps and how you can even use the freezer paper stencils and masks as collage after. I’m going to need a bigger Gelli Plate 😆. Want to try large size.
ReplyDelete